How I Created This Image Using the Flux Model and Turned It Into an Animated Video
In this blog post, I’ll walk you through the process of creating stunning digital artwork using the Flux model and transforming it into an animated video using Runway Gen-3. This combination of tools allowed me to bring my vision to life dynamically and visually captivatingly. Here’s how I did it:
1. Setting the Vision
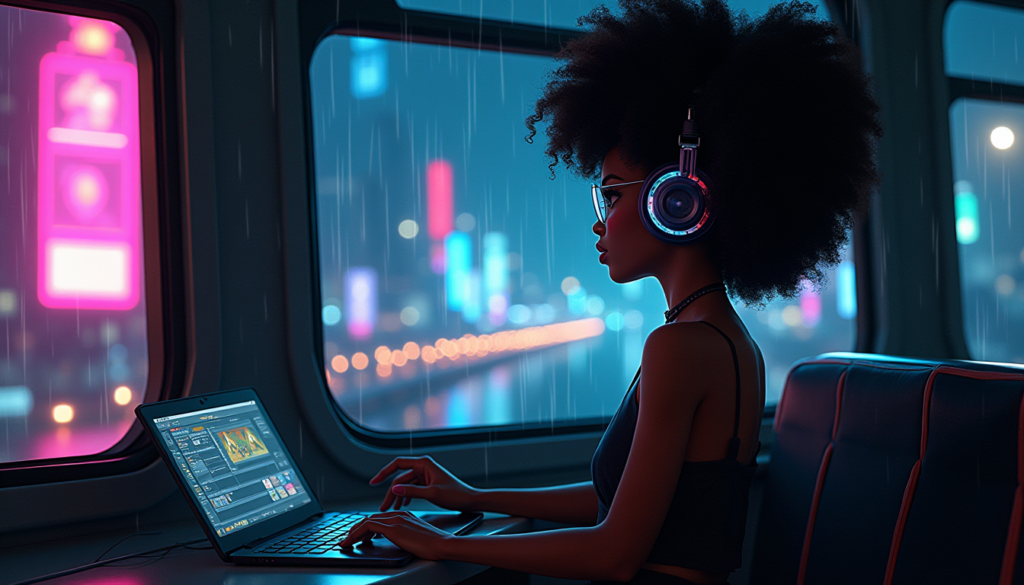
The initial concept was to create a futuristic, cyberpunk-themed image that captures the focus and immersion of a person engaged in a digital environment. I wanted the image to evoke a sense of being lost in thought, surrounded by the glow of neon lights and the gentle patter of rain on the window. The idea was clear: I needed a scene that blended technology, mood, and a strong narrative presence.
2. Creating the Image with Flux
To achieve this, I used the Flux model, known for its ability to generate detailed and vibrant visual content. I input specific parameters to guide the AI in creating the image:
- Subject: A woman working on a laptop.
- Setting: Inside a futuristic train, with a neon-lit urban landscape visible through the windows.
- Mood: Introspective, with a rainy atmosphere enhancing the scene’s mood.
- Color Scheme: Dominantly blues, purples, and neon pinks to maintain the cyberpunk aesthetic.
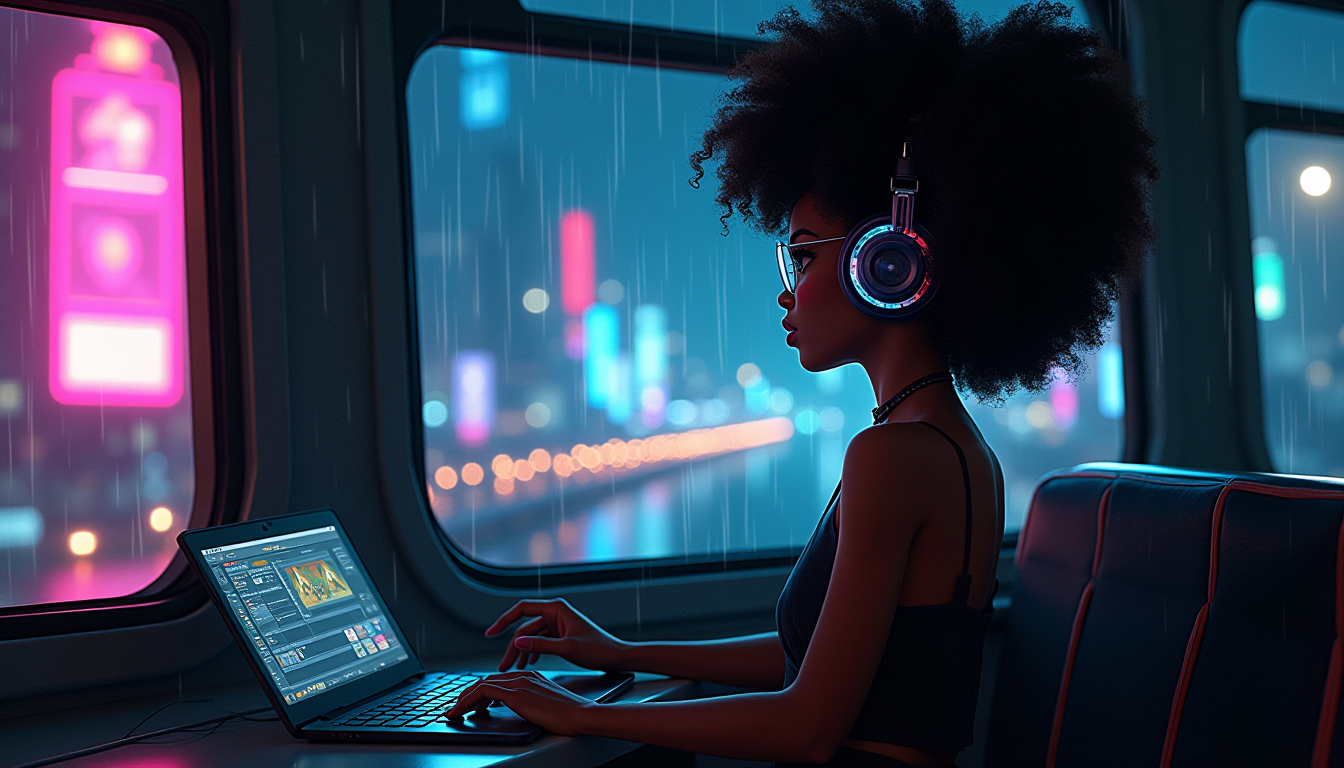
The final image was generated after running the model and slightly adjusting the parameters. I made sure to refine the output with some final touches using a photo editing tool, enhancing details like the reflection on the window and the overall colour balance.

3. Animating the Image with Runway Gen-3
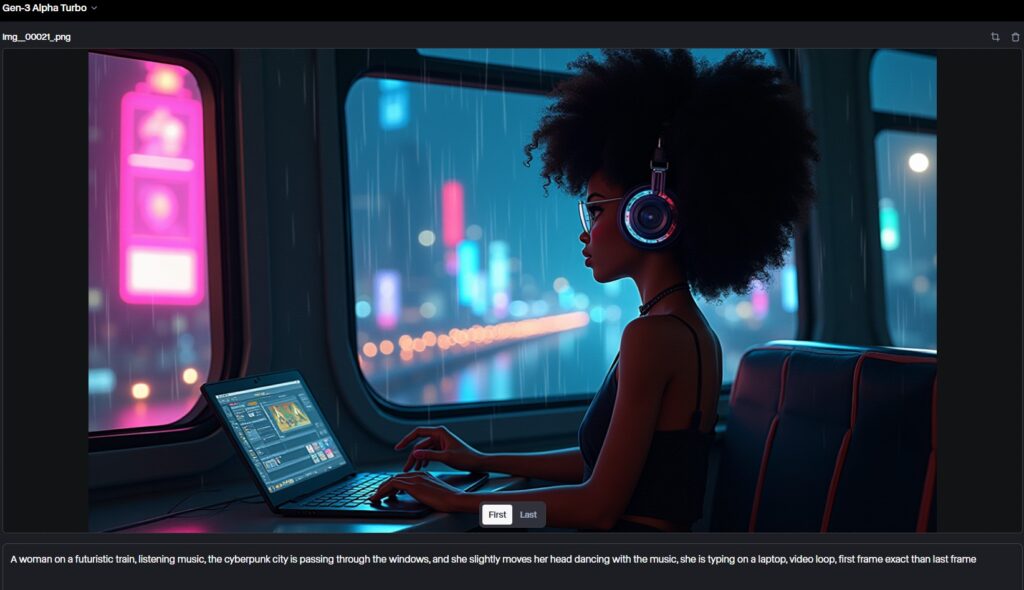
With the static image ready, I wanted to push the boundaries further by transforming it into an animated video. For this, I turned to Runway Gen-3, a powerful tool that allows you to animate still images with high control and creativity.
Here’s how I did it:
- Input the Image: I uploaded the final image created with Flux into Runway Gen-3.
- Setting Animation Parameters: Runway Gen-3 offers various options for animating still images. I selected parameters that would bring subtle motion to the scene, focusing on the rain outside the window, the flickering neon lights, and the gentle movements of the subject’s hair and clothing.
- Creating Motion: I used Runway Gen-3’s motion tools to simulate the train’s movement, giving the impression that the scene was captured mid-journey. The goal was to maintain a smooth, realistic motion that didn’t distract from the overall mood.
The process involved some trial and error, tweaking the animation speed and effects until the scene felt dynamic and accurate to the original concept.

4. Final Result
After rendering the animation, the final result was a seamless transition from a still image to a living, breathing scene. The video captured the mood perfectly: the soft glow of the neon lights, the rhythmic movement of the train, and the rain streaming down the window all worked together to create an immersive experience.
Here’s the final result:
You can feel the calm yet focused atmosphere watching the video, as if you’re in the scene, sharing the subject’s reflective moment. The combination of Flux for image creation and Runway Gen-3 for animation proved incredibly powerful, allowing me to evolve a static concept into a dynamic narrative.
5. Reflection
This project was a fascinating exploration of how AI tools like Flux and Runway Gen-3 can be used to create images and fully realized animated scenes. The ability to control and customize the still image and its animation opened up new creative possibilities that I’m excited to continue exploring.
I hope this guide inspires you to experiment with these tools and see what dynamic content you can create. Whether you’re an artist, designer, or just someone interested in digital media, the fusion of AI-generated images and animations offers a new frontier for creativity.

